MENU

Guide: Antiquing a Terracotta Pot
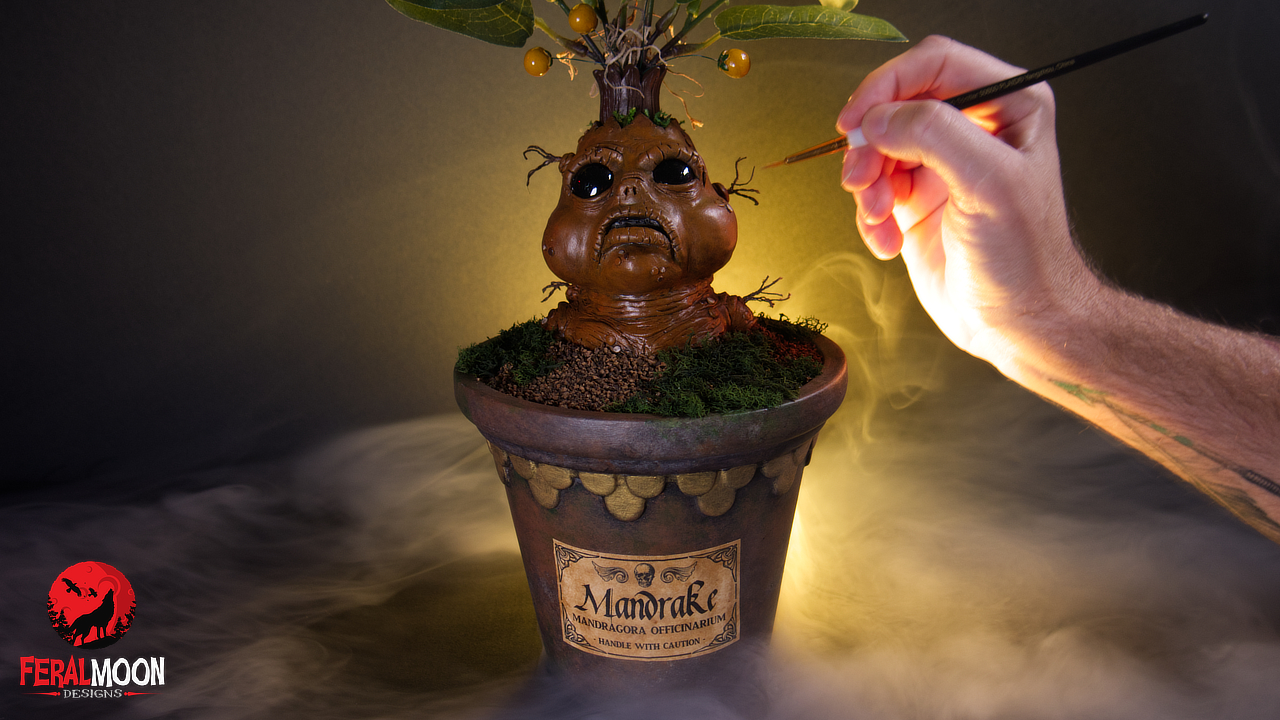
This guide will cover the process of acrylic antiquing a terracotta pot for use in many of your crafting ventures! Please note, this is not meant for use as a live planter, but will suit perfectly for sculptures, artificial arrangements and other non live plant needs!
Needed materials
– 1 terracotta pot of any size
– Paint brushes
– Painting sponge
– Paint towel or paper towels
– Dark brown acrylic paint
– Light brown acrylic paint
– Black acrylic paint
– White acrylic paint
– Dark green acrylic paint
– Lighter shade of green acrylic paint
– Medium to light shade of gray acrylic paint
– Metallic acrylic paint of your choice
Step: One
Start with a dark brown base coat. Cover the terracotta pot, brushing inside and out and allow to dry.
Step: Two
Once the dark brown base coat is dry, generously sponge the entire pot with light brown paint. Be sure to get the top edge of the pot and the inside too!
Step: Three
Once you’ve finished sponge painting and allowed the paint to dry, its time to take some white paint and mix up a wash. There are many good tutorials available when it comes to mixing acrylic washes, but for this you can simply dilute your white paint with a mix of isopropyl/rubbing alcohol and some water. The wash should be mixed very thin and be mindful to mix enough to cover your pot.
Using the wash, brush it over the entire pot, moving steadily. Once you’ve covered the pot, use your towel to dab off the excess wash. This should achieve a calcification aging effect.
Step: Four
After allowing the pot to dry following the wash, use your sponge to dab and blend more light brown to your taste. This is a good opportunity to blend areas where the white wash may have stuck a bit too heavily.
Step: Five
Using the sponge once again, use your grey acrylic to dab over areas where the white wash appears to provide some contrast to the “calcification” tones.
Step: Six
Use your sponge and dark green acrylic paint to dab sporadic areas of your pot to create a moss staining effect. Be mindful of areas you think would be saturated with or more commonly exposed to moisture. This could include around the bottom edge, small, tracing trails down the pot from water drips, under the lip of the pot and around the top edges. Allow to dry.
Step: Seven
Repeat the process in Step Three to create a wash, only this time you will be mixing a black wash. Once again be sure to mix enough to use on the entire pot.
Using the wash, cover the pot and dab off the excess with your towels. This will tone down the saturation and further age the pots appearance.
Step: eight
(Optional) Switching to a paint brush, apply a coat of black paint to any detail accents on your terracotta pot. This will serve as a base coat that you will follow up with a coat of your choice of metallic acrylic.
COMPLETE!
Nice work! You did it! Now use your pot to accentuate your awesome creations!